Spiced Christmas Cookies
These festive treats are oil free and gluten free. They’re made with nourishing plant foods and are utterly delicious!
This year I was determined to come up with a new cookie that met all of my extremely high expectations. It took a few goes until I got exactly what I was after. All my test batches were tasty, but I was looking for something quite specific. My mouth was yearning for a particular festive flavour and a very precise level of crunch. Until I achieved that, nothing would do.
I am happy to say that after all the necessary tweaks, these copper coloured cuties are everything I had dreamed they’d be. Bursting with spices, rich and treacly and oh that snap!
Other than something to blend your oats into a flour, there’s no special equipment needed and you can achieve delightful little biccies no matter how limited your supply of kitchen tools. Don’t have a rolling pin? No probs. No cutters? Don’t worry friend!
These cookies are completely oil free. Instead, they’re made with almond butter, meaning that their main fat component isn’t just some low nutrient ingredient lost in the fabric of the dough. No, instead we have the tear drop shaped power houses that are almonds. They bring way more to the party than oil ever could. Fibre, calcium, vitamin E, beneficial unsaturated fats, I could go on... It’s all in these cookies and we largely have the almond butter to thank.
Instead of regular flour, these cookies use oat flour. Simply pop your oats into a blender et voilà, you have oat flour. I like to give it a quick sift to get out any lumps and find any big bits that managed to avoid the blades. But that’s not totally necessary.
Oat flour is my go to gluten free flour for recipes that don’t require a great deal of structural integrity and benefit from a bit of density. It’s particularly good in soft fruity cookies and bars, crisp crackers or crunchy biscuits. By using oats (especially whole steel cut or Irish) instead of a more refined flour, these cookies get a turbo injection of whole grain goodness, including lots of soluble fibre. Remember that unless certified gluten free, oats can contain some traces of gluten.
I have used date syrup and coconut sugar to sweeten these cookies. They’re a treat so I don’t recommend eating the whole lot in one go. I personally prefer to use coconut sugar over more refined sugars, but added sugar is added sugar folks, so don’t substitute these for your salad. I find that the added flavour profile of caramely coconut sugar compared to the flavourless cheap thrill of white sugar means I can use less sweetness in favour of a more interesting and complex taste. Date syrup is in many ways a healthier alternative to sugar since it’s rich in nutrients and has a lower glycemic index (less chance of a sugar spike) and it adds that earthy gingerbread flavour that we all crave at this time of year!
To decorate these cookies, I whipped up a pipeable buttercream, but you could make an old school powdered sugar and water glaze (just throw some coconut sugar in your blender), or use melted chocolate. Alternatively, they taste great without any frosting at all.
Ingredients
1 tablespoon ground flaxseed (flaxseed and linseed are the same)
2.5 tablespoons water
100g Almond Butter (I use smooth)
3 tablespoons plant milk (I use soy)
50g date syrup (or sub molasses - will be slightly less sweet)
50g coconut sugar
180g oat flour (plus a little more for rolling if you don’t have a non-stick mat) - use certified gluten free if necessary
1.5 teaspoons baking powder
Pinch of sea salt (I like to use chunky flakes)
Ground seeds of 4-5 cardamom pods (you can throw them in a blender or use a knife to cut and break them down)
2 teaspoons cinnamon
2 teaspoons ground ginger
Small pinch nutmeg
1 teaspoon vanilla extract or 1/4 teaspoon vanilla powder
Method
Preheat your oven to 180°C/170°C for electric/350°F/Gas 4/ and prepare 2 baking trays with silicone baking sheets or parchment paper.
In a small bowl or ramekin, combine ground flaxseed and water and stir. Leave to sit for 5 minutes until gloopy.
Add almond butter to a medium sized bowl and using a fork or whisk, slowly incorporate the milk, followed by the date syrup, coconut sugar and flaxseed mix when it’s ready. Mix well until everything is combined and you have a thick syrupy mixture.
In a separate bowl, combine the oat flour, baking powder, salt, all of the spices and the vanilla. Mix well.
Slowly add the wet mixture to the dry and use a fork to gradually combine everything. Once you’ve done all you can with a fork, you will likely need to use your hands to really bring everything together into a smooth ball of dough. If your dough is unworkably sticky, add a little more oat flour, a tablespoon at a time. Alternatively let it sit for 5-10 minutes as it may firm up.
At this stage, you can simply make balls of dough, flatten them (with damp hands) and put them in the oven. This will result in cookies that are slightly soft in the middle. For crunchy biscuits follow the next steps.
Prepare either a lightly (oat) floured surface or a non stick rolling mat. Place the dough onto the surface and then place a piece of parchment paper on top of the dough and start to flatten with your hands. Then take either a rolling pin or a long bottle and begin to roll your dough to a thickness of about 1/2 cm. The parchment will stop your rolling pin sticking to the dough. Rub your hand across the surface to feel for uneven areas.
If you have cookie cutters, you can now begin to start stamping shapes out of your dough and placing them onto your baking trays.
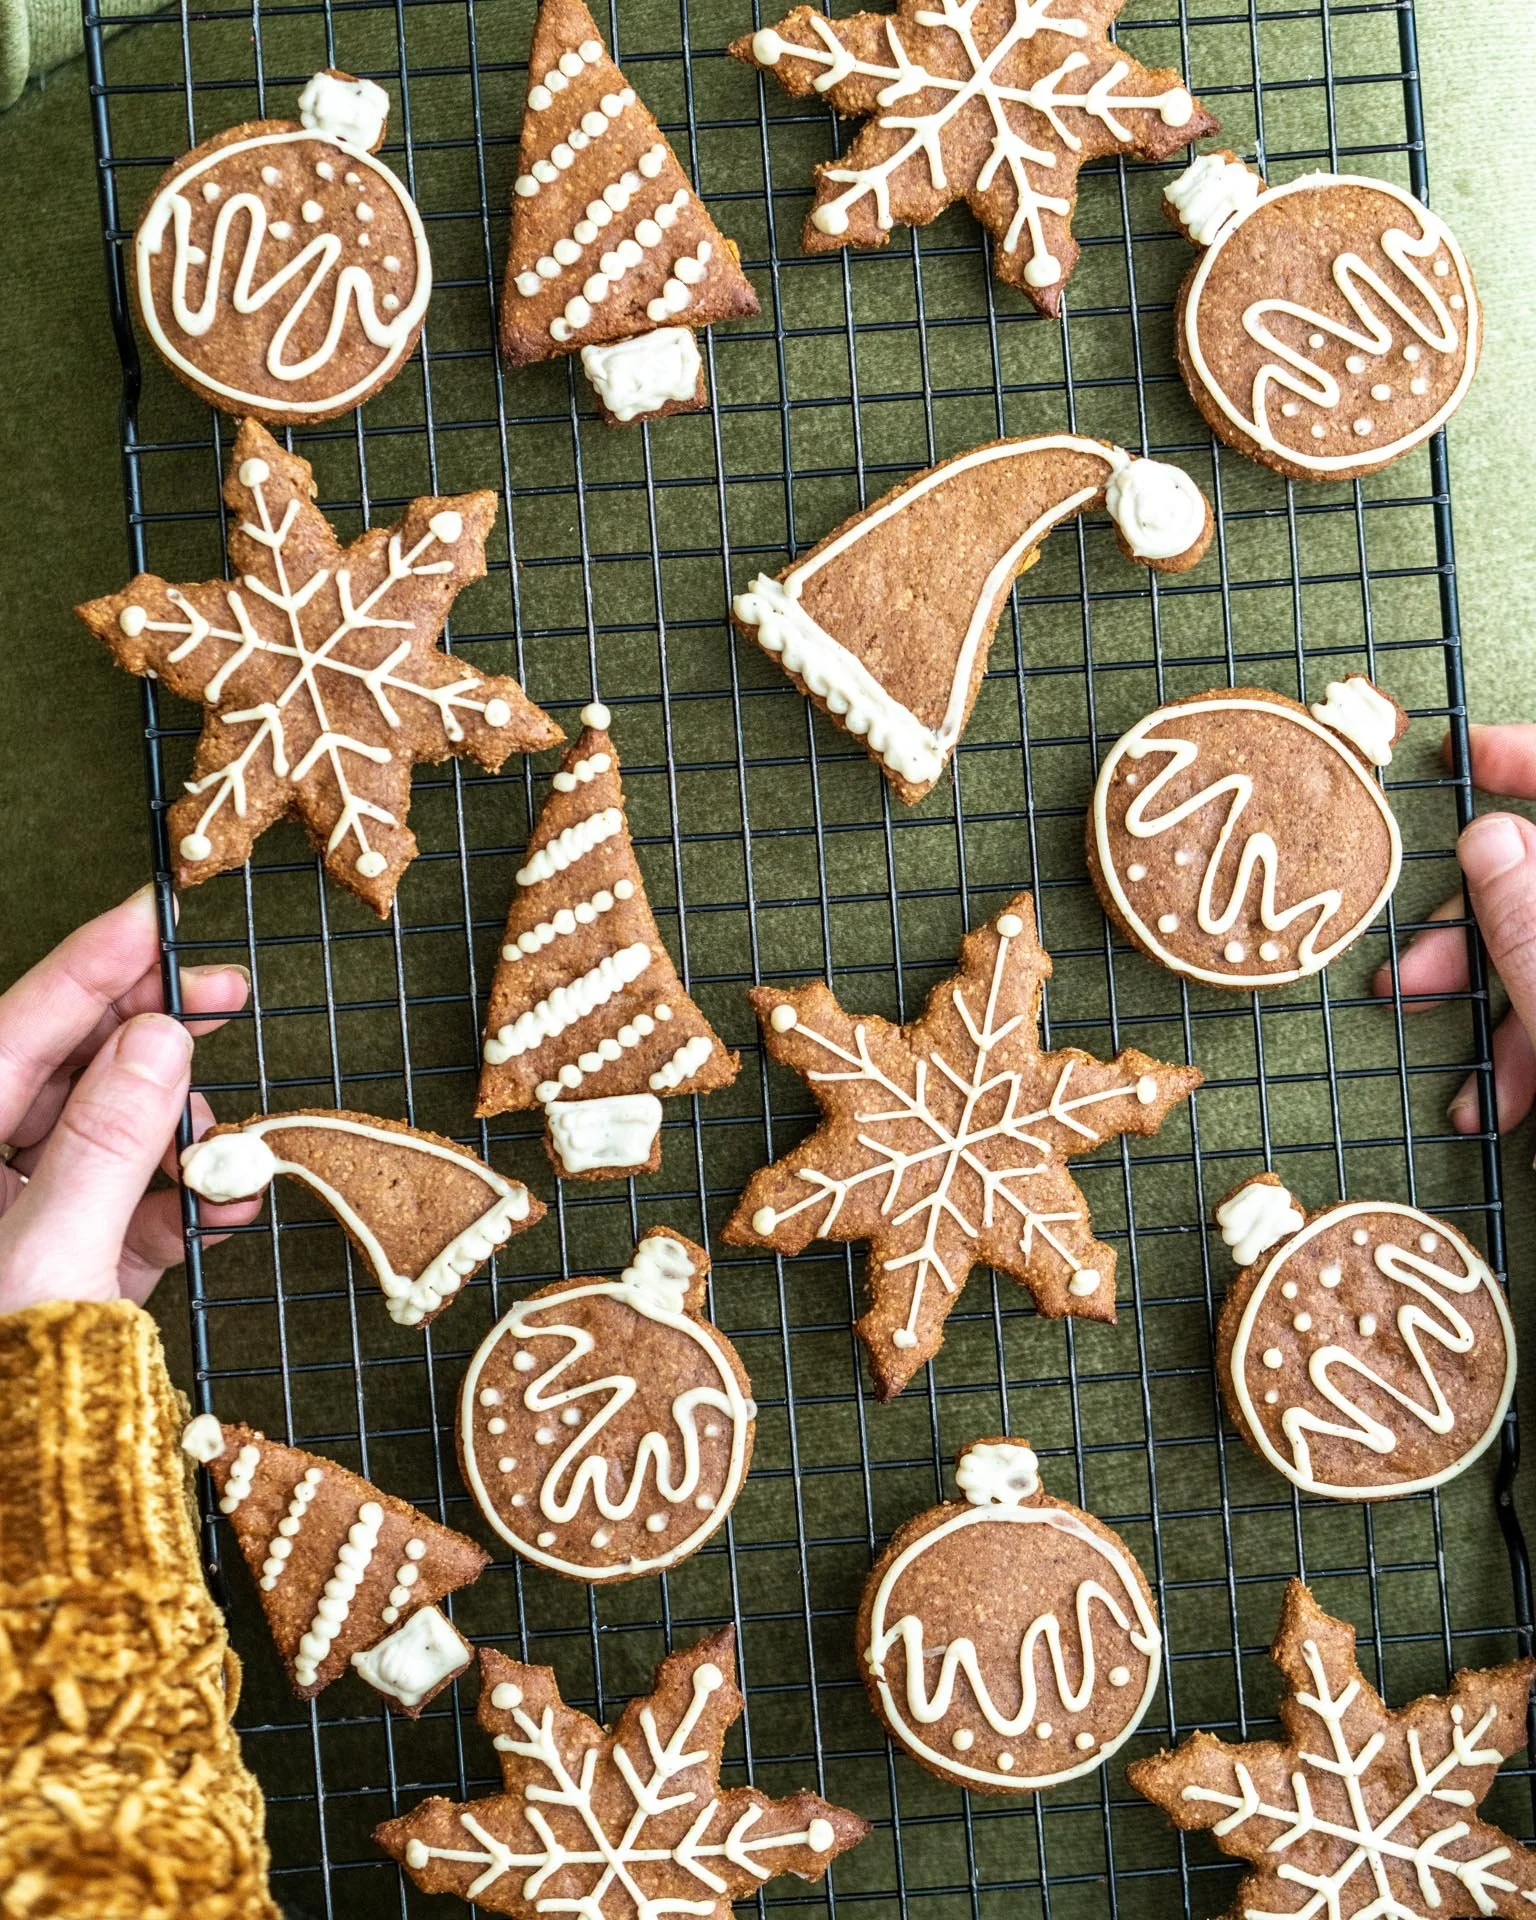
If you don’t have a cookie cutter, you could use a thin rimmed glass to make circles. Alternatively, I like to use a knife to cut out triangles. If you’re feeling creative, you can easily make Christmas trees by attaching little cut out rectangles of dough to the bottom of triangles (as I’ve done in the photo). I made the baubles in the pic simply but cutting out circles and adding little cut out rectangles to those.
Keep mushing together your scraps of dough, re-rolling and cutting until you’ve used it all up and then put everything in the oven for 9-11 minutes, until turning golden around the edges. When your cookies are ready will depend on how thin you made them, so really keep an eye on the colour. They should feel smooth and set on the outside. At first they will be soft but as they cool, they will crisp right up.
Leave them on the tray for a minute or two and then carefully place your cookies onto a cooling rack.
If you’re going to decorate them, be sure to let your cookies cool completely.
If you plan to try your hand at piping, you can easily make a quick piping bag out of parchment paper like this. Alternatively, I recommend dunking, dipping and drizzling with a fork.
Store your cookies in an airtight container, for as long as you can resist them!
Spiced Christmas Cookies
Prep: 15 min | Cook: 12–14 min | Total: ~30 min | Makes ~12 cookies
Ingredients
- 1 tablespoon ground flaxseed
- 2.5 tablespoons water
- 100g almond butter (smooth)
- 3 tablespoons plant milk (I use soy)
- 50g date syrup (or molasses)
- 50g coconut sugar
- 180g oat flour (plus extra for rolling)
- 1.5 teaspoons baking powder
- Pinch of sea salt
- Ground seeds of 4–5 cardamom pods
- 2 teaspoons cinnamon
- 2 teaspoons ground ginger
- Small pinch nutmeg
- 1 teaspoon vanilla extract or 1/4 teaspoon vanilla powder
Method
- Preheat the oven to 180°C / 170°C electric / 350°F / Gas 4 and prepare baking trays with silicone sheets or parchment paper.
- In a small bowl, combine the ground flaxseed and water; stir and set aside for 5 minutes until thickened.
- In a medium bowl, whisk together the almond butter, plant milk, date syrup, coconut sugar and flax mixture until smooth.
- In a separate bowl, mix the oat flour, baking powder, salt, cardamom, cinnamon, ginger, nutmeg and vanilla.
- Add the dry ingredients to the wet mixture and mix with a fork, then your hands, until a smooth dough forms. Add a little extra oat flour if sticky.
- Either roll the dough into balls and flatten slightly for softer cookies, or roll out to about ½ cm thick and cut into shapes.
- Place on trays and bake for 9–11 minutes until lightly golden at the edges. Cool on the tray for a few minutes before transferring to a rack.
Notes
- For crunchier cookies, roll the dough thinner before baking.
- Decorate with a simple glaze or drizzled chocolate once fully cooled.
- Store in an airtight container at room temperature for up to 5 days.